


Proper installation of your Mammotion robot mower charging station is essential for smooth docking, reliable charging, and uninterrupted mowing.
This quick guide will help you set up your charging station correctly in just a few simple steps—no technical experience required. By following this guide, you can ensure your robot mower starts and returns to charge reliably every time.
What You Need to Install the Charging Station
Before installing the Mammotion robot mower charging station, make sure you have the following items ready:
- Mammotion charging station
- Power adapter
- Ground stakes or expansion bolts (for concrete surfaces)
- Outdoor power outlet
That’s all you need to get started.
Choose the Best Location for the Charging Station
A properly chosen location ensures your robot mower can return and align smoothly every time.
✔ Good Location
Place the charging station in an area that meets all of the following conditions:
- Flat and level ground
- Open sky above (avoid heavy tree cover or roof edges)
- Near the edge of the lawn for easy access
- At least 5 ft (1.5 m) of clear space in front and on both sides
- Close to a stable outdoor power outlet

❌ Avoid These Locations
- Under trees or dense foliage
- Tight corners or narrow spaces
- Sloped or uneven ground
- Fully enclosed or hidden areas
- Locations blocked by walls, fences, or large objects
⚠ Why This Matters
Improper placement can lead to docking failure, unstable alignment, or inconsistent charging performance.
Step-by-Step Installation of the Mammotion Charging Station
Follow these steps to install your charging station:
1. Attach the rain cover to the charging station.

2. Place the charging station at the selected location on flat ground.
3. Secure the station using the included ground stakes. If installing on concrete, use expansion bolts (not included).

4. Connect the charging cable to the charging station.
5. Plug the power adapter into a nearby outdoor outlet. Secure the cable with the included cable pegs.
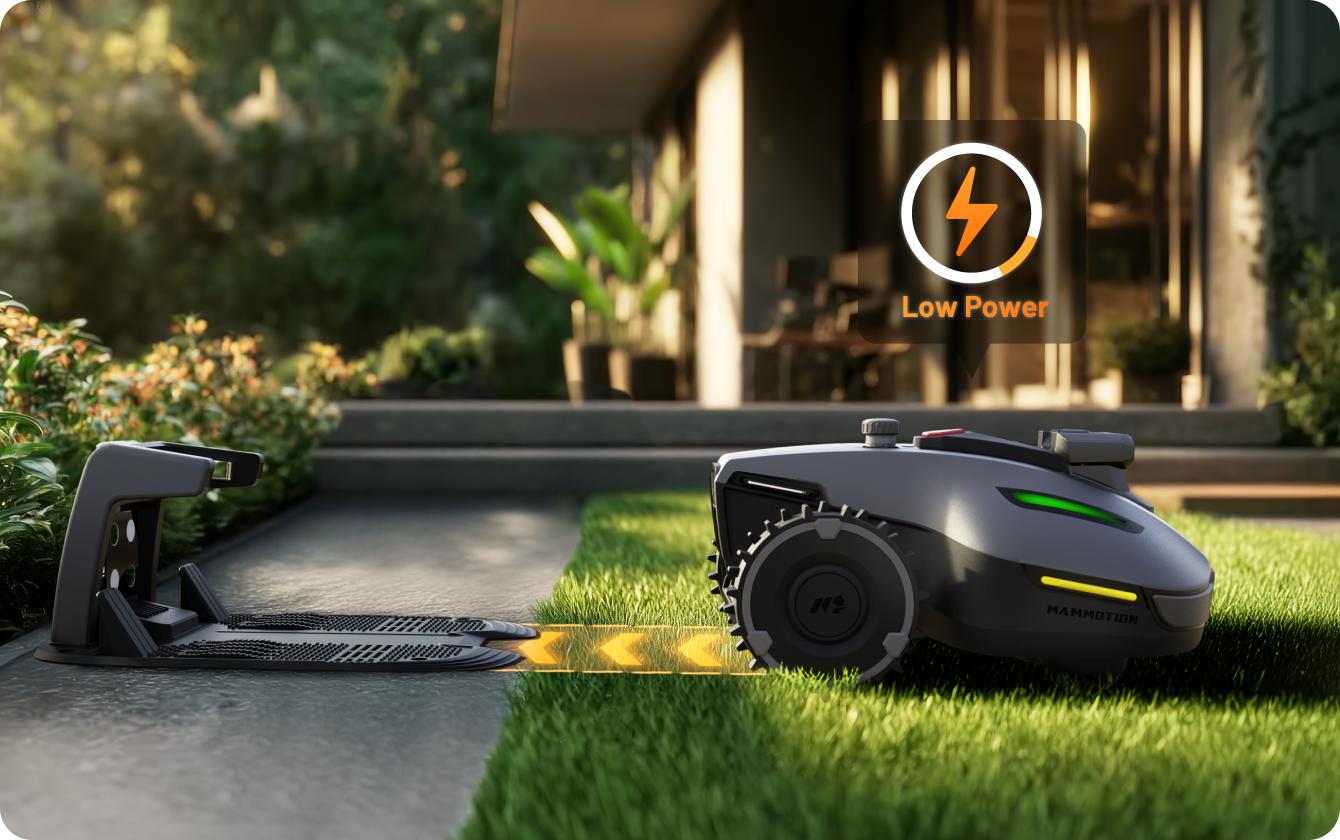
6. Dock the robot to the charging station to begin charging. Once the robot is properly docked, the LED indicator on the side will turn red.

NOTE: Charge the robot for initial use to activate it.
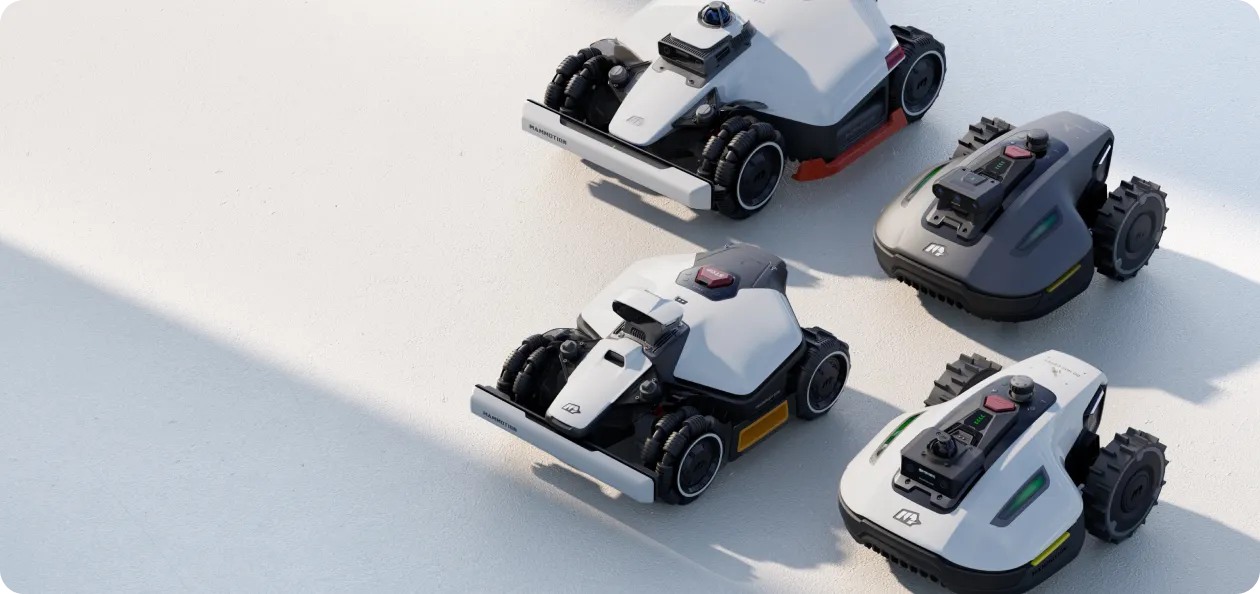
The product lines covered in this charging station installation guide include: LUBA 3 AWD, LUBA 2 AWD, LUBA mini AWD, LUBA mini 2 AWD, YUKA, YUKA mini, and YUKA mini.
Charging Station Installation Success Check
Once the charging station is installed, take a moment to verify that everything is set up correctly.
✔ A Proper Installation Looks Like This:
- The charging station is firmly fixed and does not move
- The ground is flat and stable
- The power indicator on the station is on
- Cables are neatly secured and not exposed to tension or pulling
⚠ Why This Step Matters
A stable and correctly positioned charging station ensures accurate docking and consistent charging performance.
Even a small movement or poor placement may affect the robot’s ability to return and charge reliably.
Docking Test After Installation
After installation, perform a quick docking test to ensure everything is working correctly.
Place your robot mower near the charging station and start an automatic docking process using the app or onboard controls.
✔ Successful Docking Looks Like This:
- The robot smoothly approaches the charging station
- It aligns itself without repeated adjustments
- The LED indicator on the robot turns red
- Charging starts automatically
⚠ If Docking Is Not Successful
- Ensure there is enough open space in front of the station
- Confirm the station is placed on flat and stable ground
- Make sure the station is firmly fixed and does not move
Common Mistakes in Charging Station Installation
Avoid these common mistakes to ensure stable docking and reliable charging performance.
❌ Not Enough Clearance Around the Station
If there is not enough open space in front or on both sides, the robot may struggle to align and dock properly.
✔ Make sure there is at least 5 ft (1.5 m) of clear space around the front and sides.
❌ Installing on Uneven or Soft Ground
A charging station that is not level or stable may cause misalignment during docking.
✔ Always install on flat and solid ground.
❌ Loose Charging Station
If the station moves slightly, the robot may fail to dock correctly.
✔ Use stakes or expansion bolts to firmly secure the station.
❌ Installing Under Trees or Covered Areas
Obstructions above the station may affect positioning and docking performance.
✔ Choose an open area with a clear view of the sky.
Final Note: If the robot docks successfully and begins charging automatically, your installation is complete and no further adjustment is needed.
If you have any questions about installing Mammotion, please feel free to contact us online at any time!


